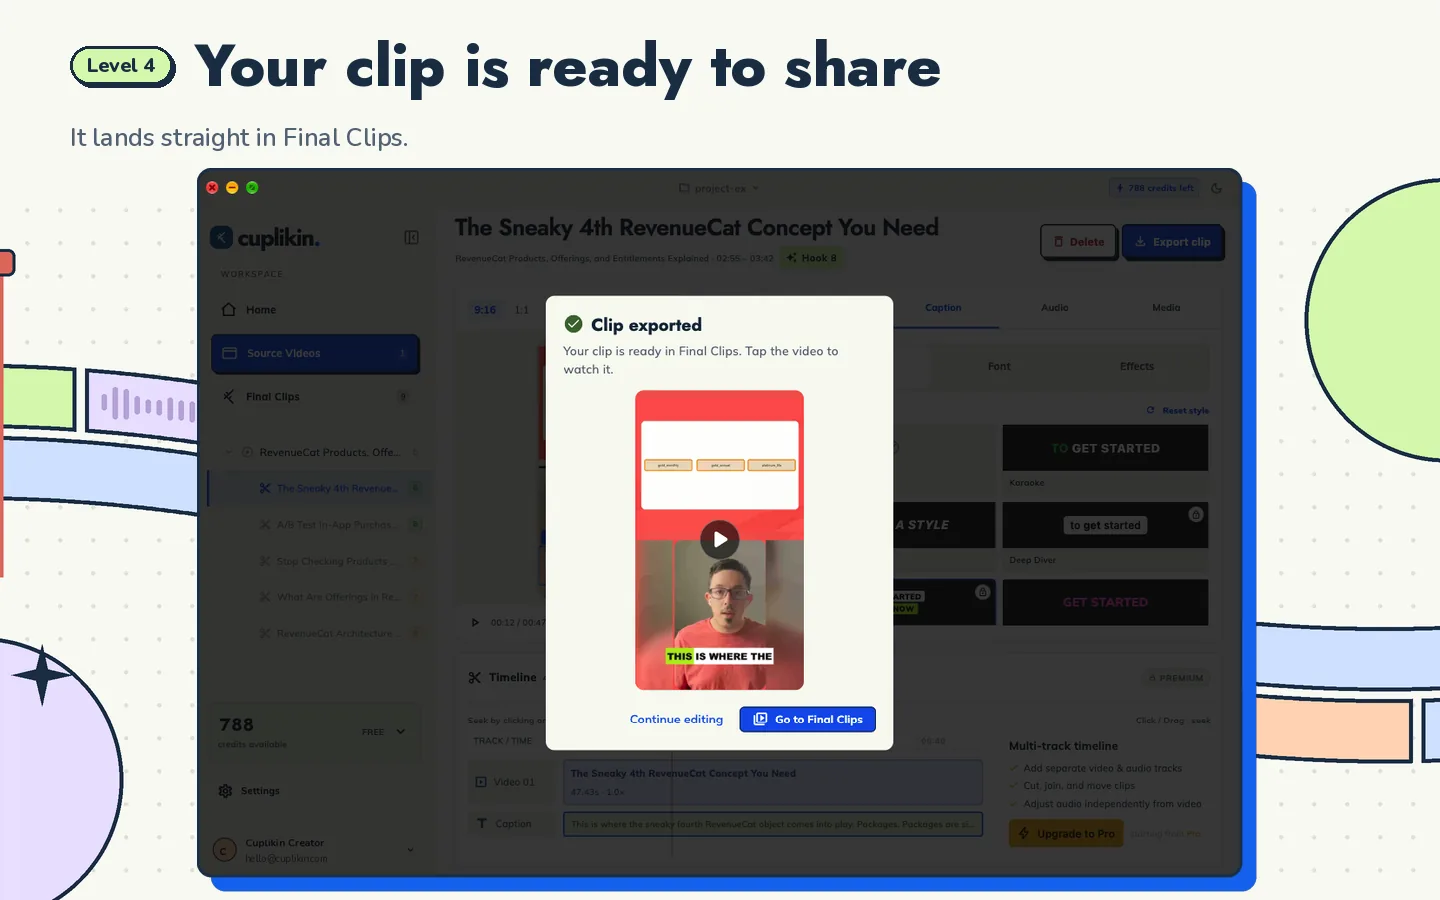
To turn a Zoom class recording into short clips, take one concept, one tip or one common misconception that is explained in full in 30 to 90 seconds, cut it from the opening sentence to the conclusion, then reframe it to 9:16 with the slide on top and the teacher below. Add captions that make it easier to learn, and make sure students' faces and names do not appear without permission.
This guide is for teachers, lecturers, online course creators and trainers who already have a pile of class recordings and want to turn them into short educational videos. If you are looking for the general way to clip webinars or interviews, read how to repurpose webinars and interviews into clips. This article focuses on what is specific to classes: the material, the participants and paid courses.
Start with a good recording
Clips that are pleasant to watch start with a clean recording. A few things you can set up before class begins:
- Use local or cloud recording at the highest resolution. In Zoom, check your recording settings. Options such as recording the active speaker and the shared screen separately help a lot when editing, if your account offers them. Menu names can differ by version and account type.
- In Google Meet, recordings are usually saved to the organizer's Google Drive. Download the original file instead of screen-recording it again.
- Turn on the teacher's camera with light from the front. A dark face is hard to use in a vertical layout.
- Use a separate microphone or headset. Audio is half the value of an educational clip, and it makes the transcript more accurate.
- Make slide fonts bigger. 14-point text on a 16:9 slide will be tiny on a phone screen. One idea per slide in large type is much easier to clip.
- Hide the participant gallery while presenting if you can. The fewer student faces in the recording, the fewer you have to cut out later.
One small habit helps a lot: when you explain an important concept, start with a sentence that stands on its own, such as "So here is the difference between photosynthesis and respiration." Sentences like that become natural cut points.
Pick teaching moments that stand on their own
Not every part of a 90-minute session works as a clip. Attendance, technical issues and group discussions are usually skipped. Look for these three kinds of moments:
- One concept. A single term or idea explained from start to understanding. "What compound interest is, explained with a loan."
- One tip. A practical method viewers can use right away. "A quick way to check your grammar before sending an email."
- One misconception. A common mistake, corrected. This format is often a strong hook because viewers want to know whether they get it wrong too.
The rule is simple: one clip, one idea. If the explanation moves on to a second idea, cut there and make it a separate clip.
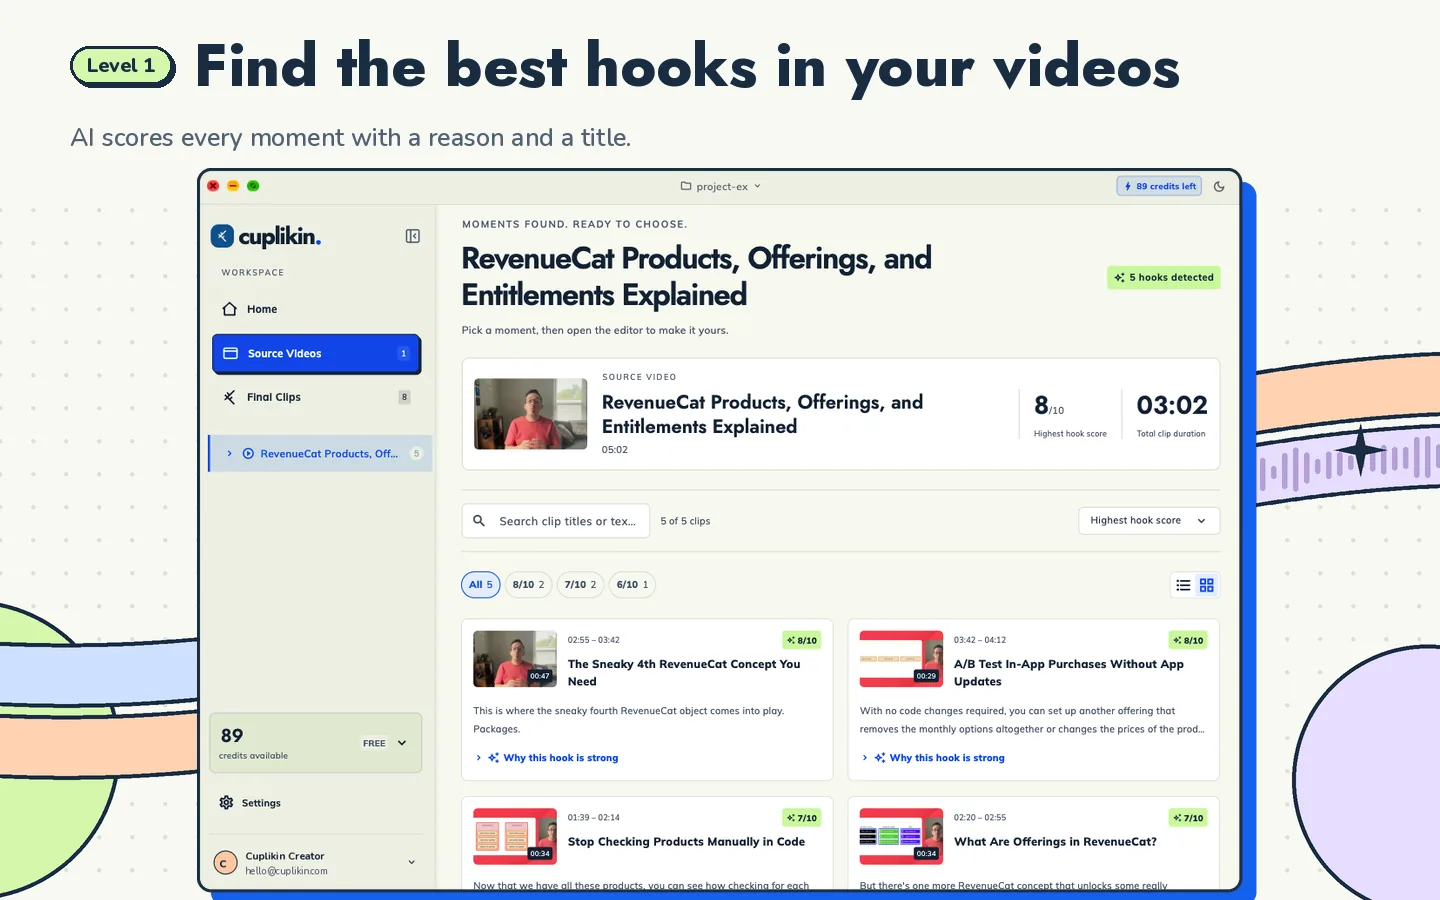
In Cuplikin, AI hook detection gives you a list of segments with a score from 1 to 10, a reason and a title idea. For class material, use that list as a first filter, then check yourself that each explanation is correct and complete. You know the material best. For general techniques on finding moments, see how to find the best hooks in a long video.
Two-panel layout: slide and teacher
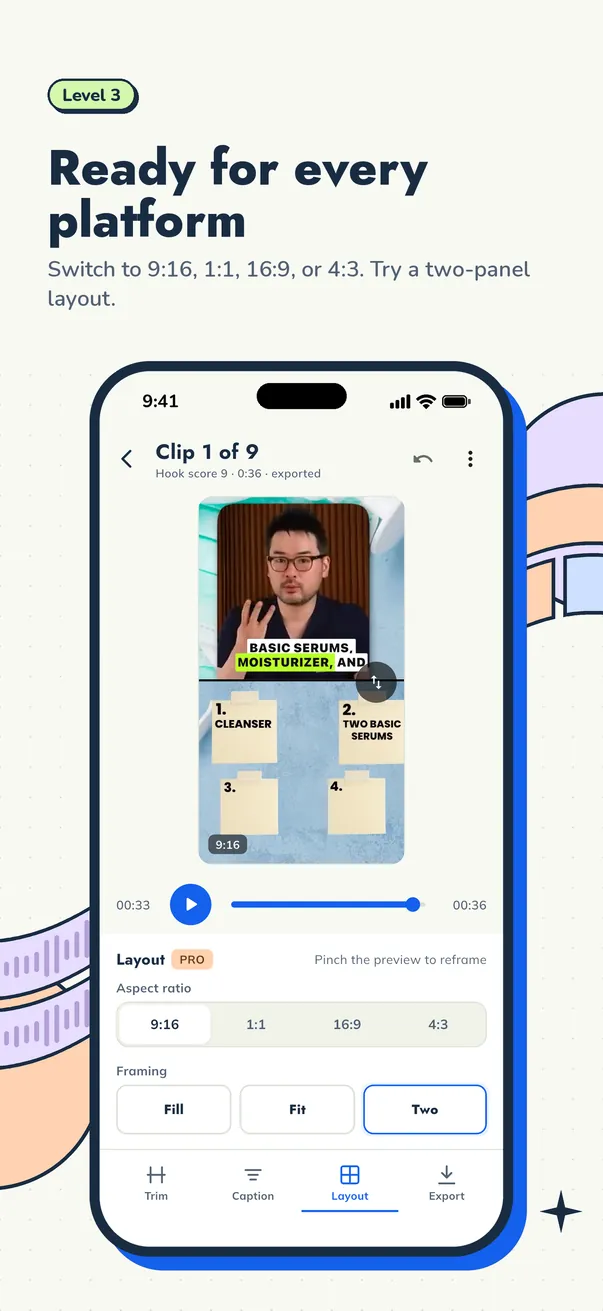
A class recording has two sources of information: the slide and the person explaining it. If you simply crop to 9:16, you lose one of them. For educational clips, a two-panel layout usually fits best:
- Top panel: the slide. Crop to the part of the slide being discussed, not the whole slide. If the slide is dense, zoom in on just the diagram or the formula.
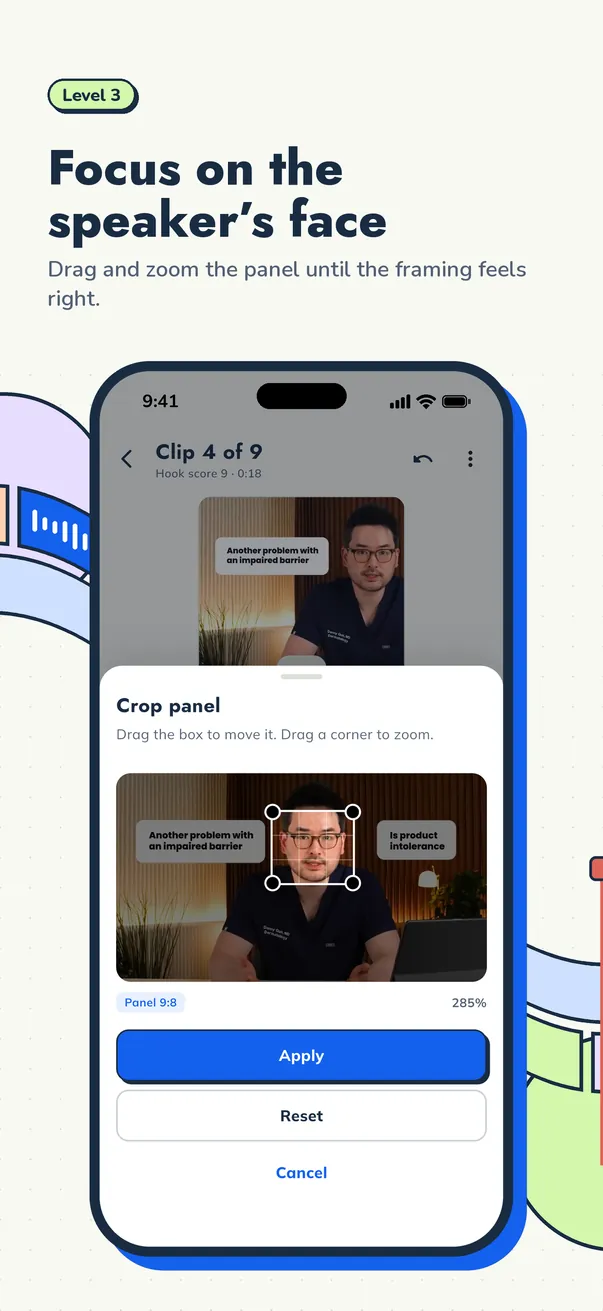
- Bottom panel: the teacher. Crop to the face so expressions and gestures are clear.
If the moment needs no visuals, such as a story or a motivational point, a crop on the teacher alone is enough. If the slide is the heart of the explanation, such as a chart, consider Fit so the whole slide stays visible.
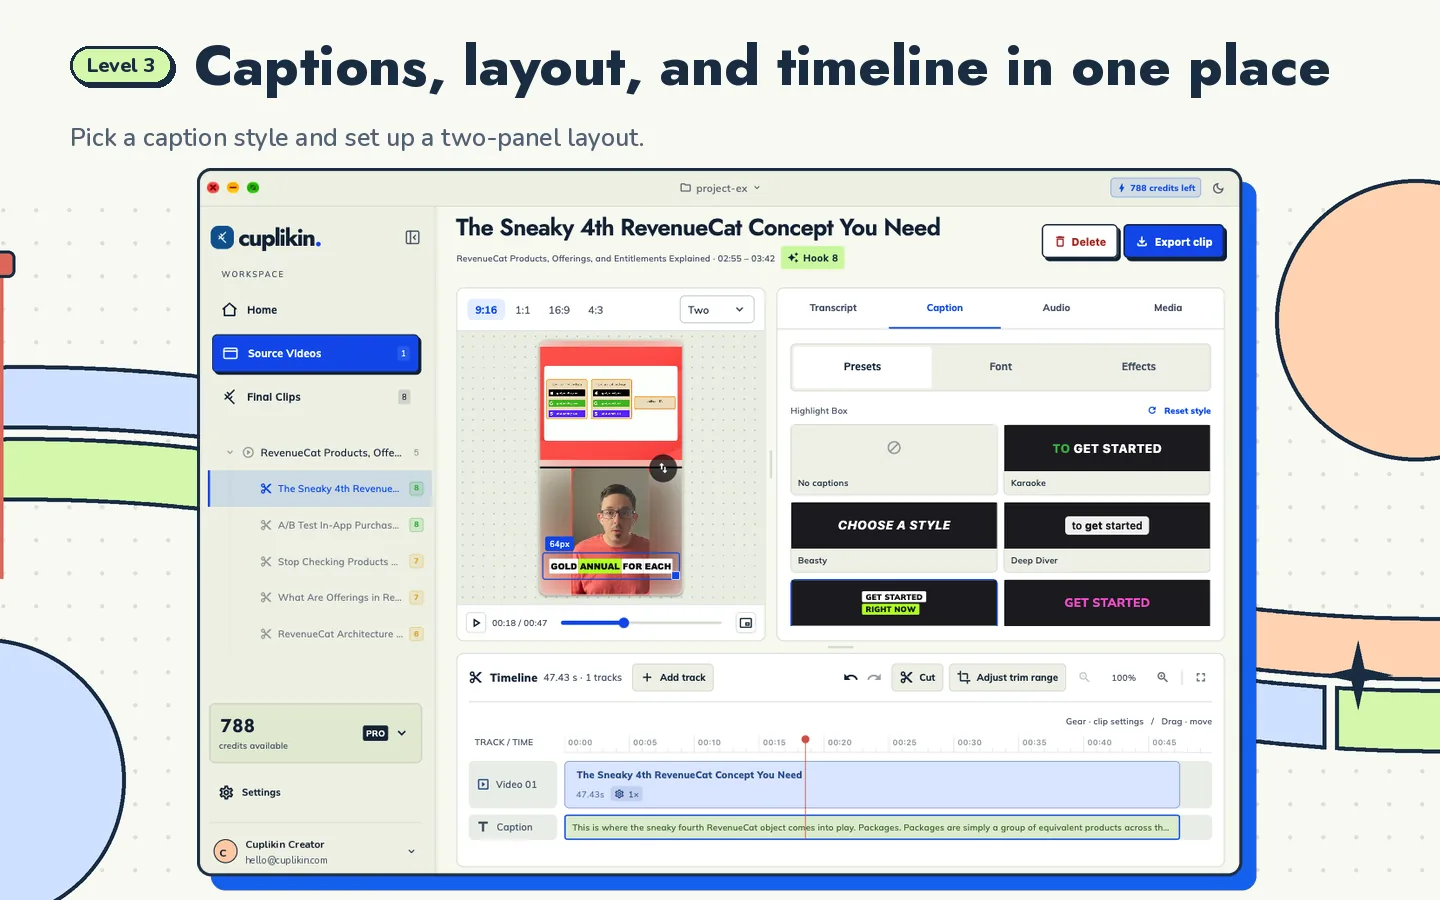
Cuplikin supports two-panel layouts in 9:16, with a separate crop for each panel. You can frame the teacher's face in one panel and part of the slide in the other. There is more detail in how to convert horizontal video to vertical.
Captions that help people learn
Captions in educational videos do more than accessibility. Many viewers watch with the sound off, and captions help them catch new terms.
- Fix technical terms. Automatic transcripts often misspell terms, formulas or names. Check them word by word.
- Highlight key words. Word-by-word highlighting helps the eye follow along and makes new terms easier to remember.
- Place captions in the middle, between the two panels. That way they do not cover the slide text or the teacher's face.
- Add an on-screen title. One line that says what viewers will learn: "Affect vs effect, explained."
In Cuplikin, editing the transcript word by word fixes the captions at the same time, and presets such as Highlight Box or Karaoke can be adjusted for size and position. See auto captions for short videos to choose a style.
Respect student privacy
This is the part most often skipped. Students join a class to learn, not to appear on TikTok. Before posting a clip:
- Crop students' faces out of the frame. Crop to the slide and the teacher only. If the participant gallery sits in the middle of the screen and cannot be cropped, choose another moment. Blurring faces is possible, but the safest and simplest approach is not to use that section at all.
- Remove student names. Names under Zoom thumbnails, in the chat, or spoken by the teacher ("Great point, Rina"). Cut the sentence or fix the captions so the name is not shown.
- Be careful with student voices. A student's question can make great clip material, but their voice is still personal data. Ask for permission, or repeat the question in your own voice in the next class.
- Ask for consent up front. Tell students at the start of class that the session is recorded and that parts of the teacher's explanations may be used on social media. For students under 18, follow your school's rules and get parental consent.
- Check your institution's policy. Schools, universities and course platforms sometimes have their own rules on how class recordings may be used.
On storage: in Cuplikin, projects, source media, edits and exports are stored on your device, and your video file is not uploaded for hook analysis. On-device transcription sends nothing. The exceptions are cloud transcription (optional, for Pro), which sends the audio to be transcribed, and URL imports, which are downloaded through the Cuplikin service. For sensitive class recordings, use local files and on-device transcription.
Promote a paid course without giving away the core material
If you sell a course or training, short clips are your shop window. The goal is to make people want to learn more, not to hand out the whole curriculum for free.
- Share the "what" and the "why", keep the full "how". The clip explains the problem and why it matters; the paid course gives the full steps and the practice.
- Use misconceptions as a way in. Correcting one mistake gives viewers real value without revealing your whole method.
- Take material from the introductory session. First-session content is usually the most general and the safest to clip.
- Do not clip practice problems, worksheets or core case studies. That is what students pay for, and paying students will feel shortchanged if it circulates for free.
- End with a clear call to action. "The full lesson is in the course, link in bio" is enough.
A consistent clip series, such as "Grammar myths #1 to #10", also makes your account known as a place to learn, not just an ad for your course. For the general process from long video to clips, see the complete guide to turning long videos into short clips.
FAQ
How long should a short educational video be?
For one concept or one tip, 30 to 90 seconds is usually enough. If the explanation needs longer, split it into two clips titled "part 1" and "part 2", or check the current length limits on the platform you use.
Can I use class recordings that show students' faces?
Not without permission. Crop to the slide and the teacher only, remove any names that are shown or spoken, and get written consent if a student's face or voice really needs to appear. For students under 18, follow your school's rules and get parental consent.
Can I clip Zoom class recordings on my phone?
Yes. Download the recording file to your phone, then import it from Photos or Files on iPhone, or from the gallery on Android. In Cuplikin, you can transcribe, pick moments, set up a two-panel layout and export clips that are saved straight to your photo library.
Try it with Cuplikin
Cuplikin helps you turn class recordings into educational clips: a timestamped transcript, a list of moments with scores and title ideas, trimming on the timeline, captions you can fix word by word, and a two-panel layout for slide and teacher, with no watermark. Your class recordings stay on your device. It is free to download for Mac, iPhone, iPad and Android. Download Cuplikin.