To repurpose a webinar or interview into short clips, start from the transcript, not the timeline. Pull out answers and moments that make sense on their own, reframe them for a vertical 9:16 screen (slides on top, speaker below works well), add readable captions, and export each clip with its own title and social caption. One recording can give you a week or more of short posts.
Webinars and interviews are often the most valuable content a team makes, and also the most ignored after the live date. Short clips put those ideas back in front of people. This guide shows a repeatable process for marketing teams, educators, founders and clippers.
Why webinars and interviews make great short clips
Long-form sessions are full of short, self-contained ideas:
- Expert answers to specific questions
- Clear explanations of one concept, often with a slide that helps
- Stories and examples from guests
- Strong opinions that start a conversation
- Practical tips someone can try right away
The hard part isn't finding something to post. It's finding the best few minutes in a 60- or 90-minute recording without rewatching the whole thing.
Step 1: Start with the best source file
Use the original recording, not a compressed copy downloaded from a streaming page.
- For webinars, the recording from your webinar or meeting tool usually has the slides and the speaker camera in one frame.
- For interviews, use the highest-resolution export from your editor or camera.
- Make sure you have permission to publish clips of every speaker, especially external guests.
Step 2: Get a clean, timestamped transcript
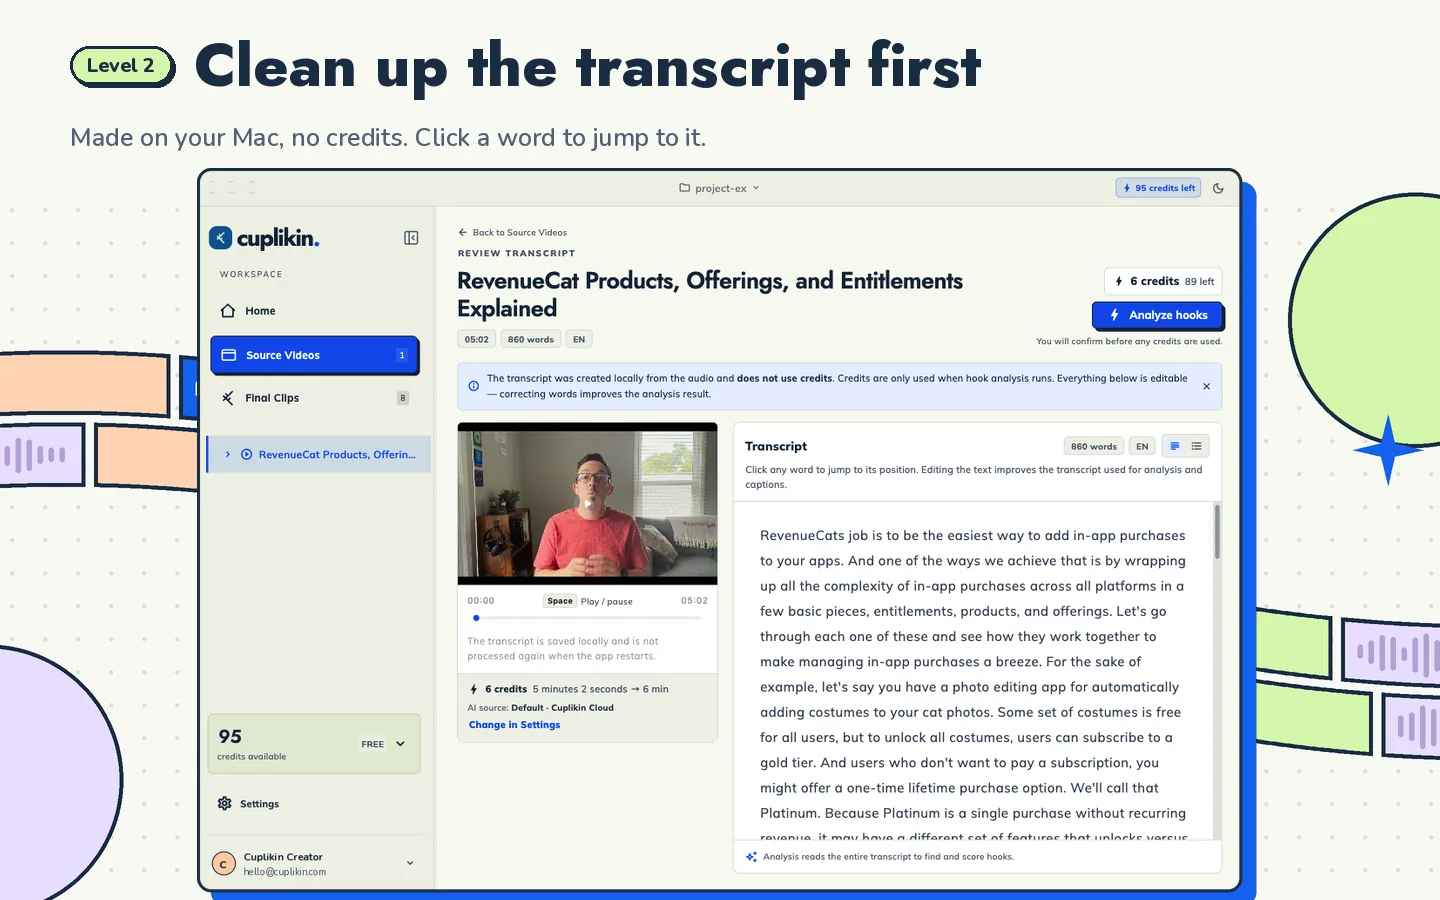
A transcript turns a long recording into something you can skim in minutes. Correct it before you cut:
- Speaker and guest names
- Product names, brand terms and acronyms
- Numbers, dates and prices, which are easy to mishear and costly to get wrong in a caption
Step 3: Pick moments that stand alone
Read the transcript and mark segments that pass three tests:
- Does it make sense without context? If the clip starts with "as I said earlier", trim it or skip it.
- Is there a payoff? A clear answer, a punchline, a number or a takeaway.
- Does it open strong? The first sentence should make someone stop scrolling.
Good webinar and interview moments include the answer to the most-asked Q&A question, a myth the speaker corrects, a before-and-after story, and a short "here's how we do it" walkthrough. For more on spotting strong openings, read how to find the best hooks in a long video.
Step 4: Trim for short-form attention
- Cut the intro, housekeeping and "can everyone hear me?" moments.
- Start the clip on the first meaningful sentence.
- Remove slow tangents if the point still works without them.
- End right after the payoff. Don't let the clip trail into the next question.
Step 5: Frame slides and speakers for vertical
This is where webinars differ from podcasts. A typical webinar frame has a big slide and a small speaker camera. Cropping that straight to 9:16 usually loses one or the other.
Better options:
- Two-panel layout: slide on top, speaker below. Viewers see the visual and the person.
- Speaker only: crop to the face when the slide doesn't add anything.
- Fit: keep the whole frame when the slide is the point, and use the empty space for a title and captions.
For interviews with two people in one wide shot, a two-panel layout with host on top and guest below keeps both faces visible. Our guide on how to convert horizontal video to vertical covers each method in detail.
Step 6: Add captions and on-screen titles
Webinar audio is often a laptop mic or a remote call, so captions help a lot. Keep them big, short and placed where they don't cover slide text. A short title at the top of the clip ("3 mistakes in onboarding emails") tells viewers what they're about to learn. See auto captions for short videos for style ideas.
Step 7: Export, title and schedule
Export each clip at 9:16, 1080×1920 or higher, and write a social caption for each one while the context is fresh. Then schedule the clips across the week rather than posting them all on one day. Link back to the full recording where the platform allows it.
A sample plan for one 60-minute webinar
| Clip | Type of moment | Layout |
|---|---|---|
| 1 | Most-asked Q&A answer | Speaker only |
| 2 | Key framework slide explained | Two-panel, slide on top |
| 3 | Short customer or guest story | Speaker only |
| 4 | Myth the speaker corrects | Two-panel or speaker only |
| 5 | Step-by-step tip | Two-panel, slide on top |
Treat this as a starting point. The right number of clips depends on how many moments actually stand on their own.
How to repurpose webinars and interviews with Cuplikin
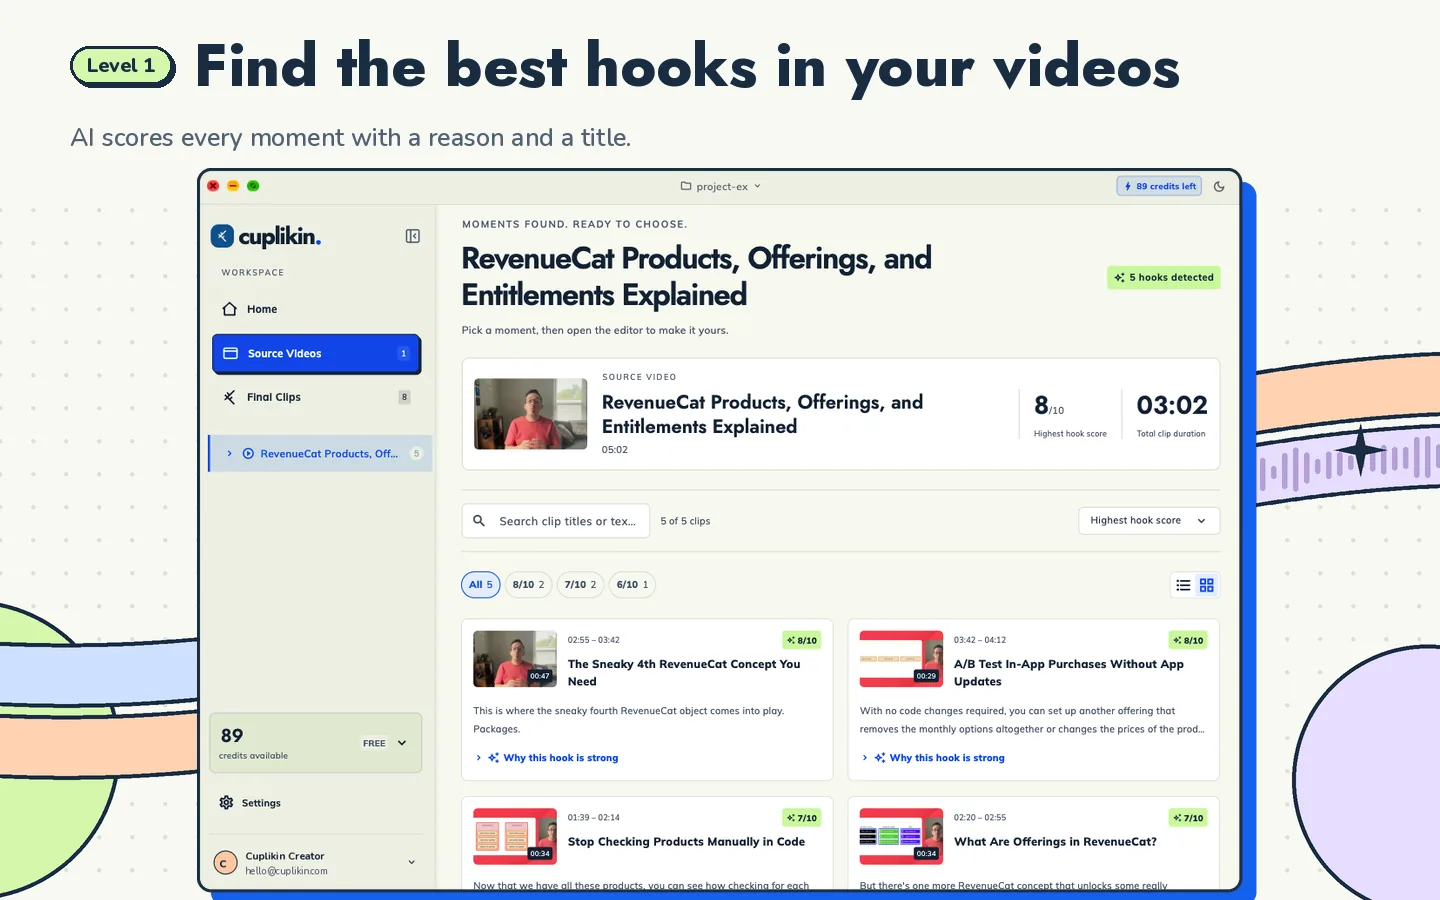
Cuplikin is built for this workflow on Mac, iPhone, iPad and Android:
- Import a local file (MP4, MOV or MKV on Mac, Photos or Files on iPhone) or paste a supported link such as YouTube.
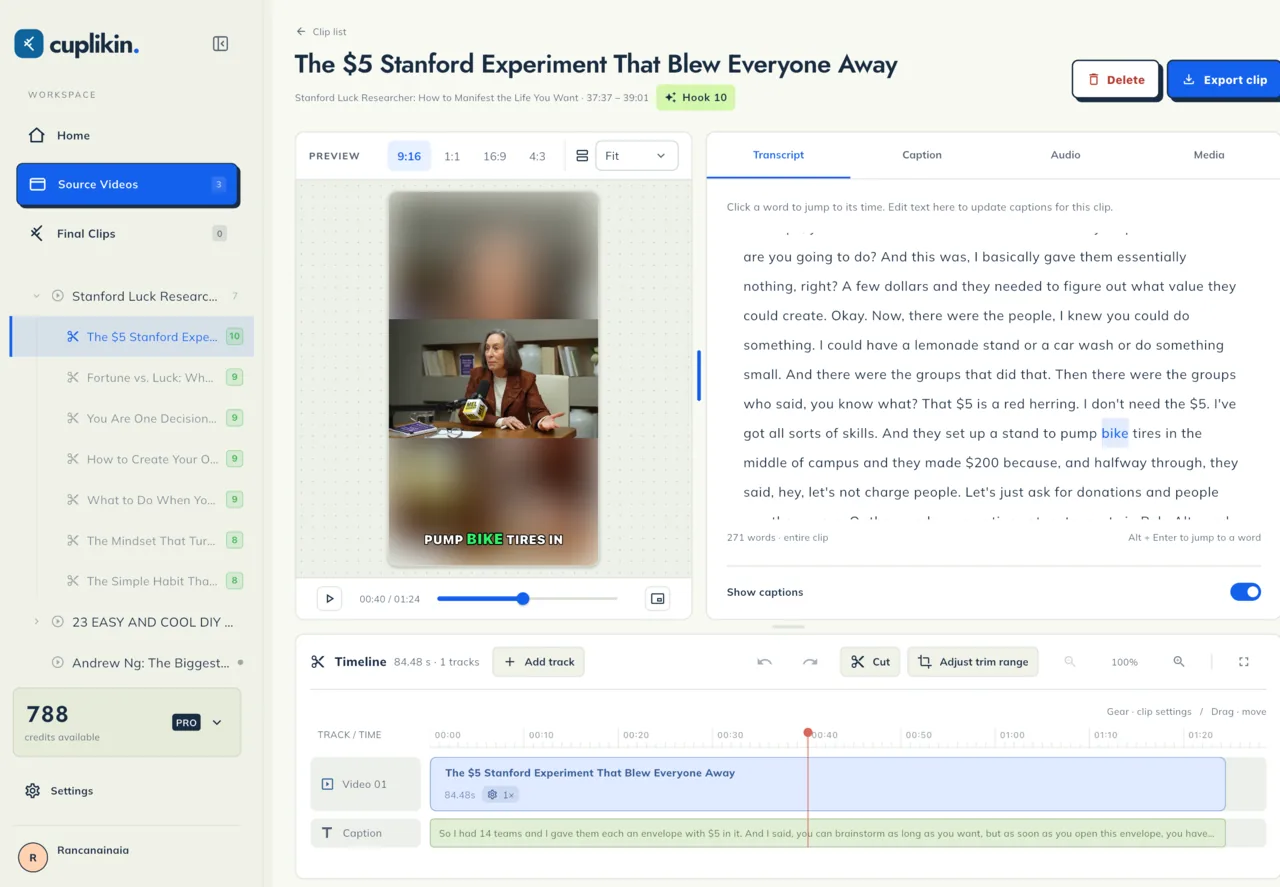
- Transcribe on-device or with Cuplikin Cloud, review the timestamped transcript while it plays, click a word to jump, and correct names and terms before you continue.
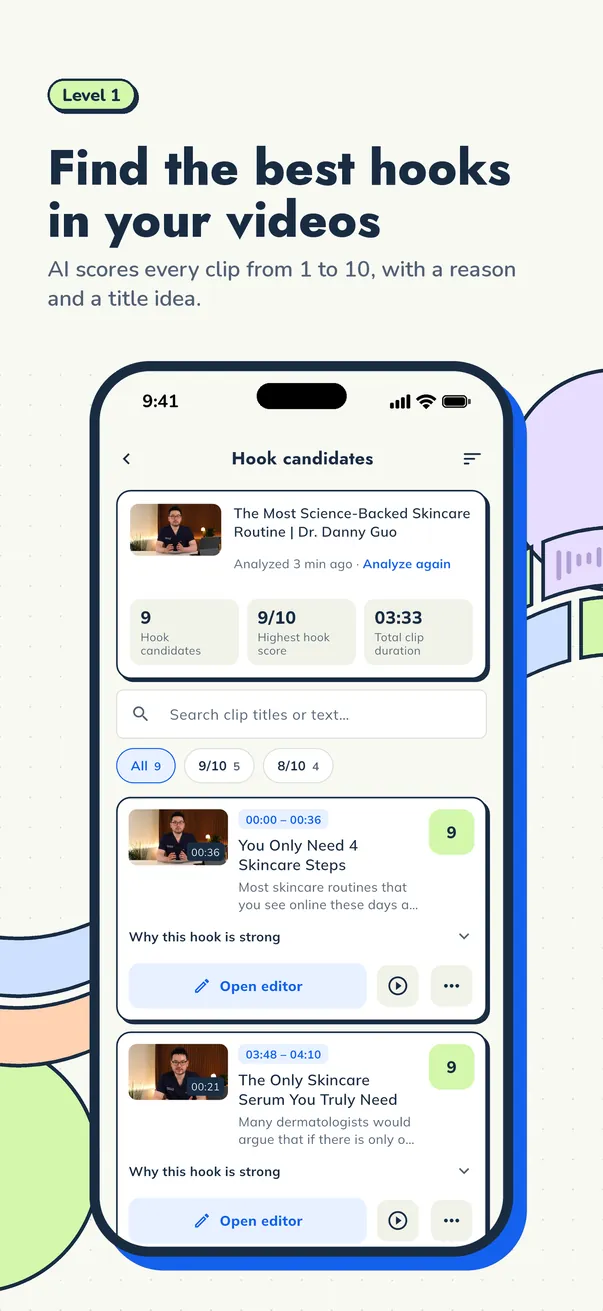
- Find hooks with AI. Each candidate gets a score from 1 to 10, a reason explaining why the hook is strong, and a title idea. You choose which to keep. Scores help you judge ideas; they don't guarantee views.
- Edit on a timeline. Trim, change speed and volume, add video, image or audio tracks, and edit words in the transcript to update captions.
- Lay out clips in 9:16, 1:1, 16:9 or 4:3, with Fill or Fit, a two-panel layout (slides on top, speaker below) and a crop panel to frame the speaker's face.
- Caption with presets such as Karaoke, Beasty, Deep Diver and Highlight Box, with word-by-word highlighting.
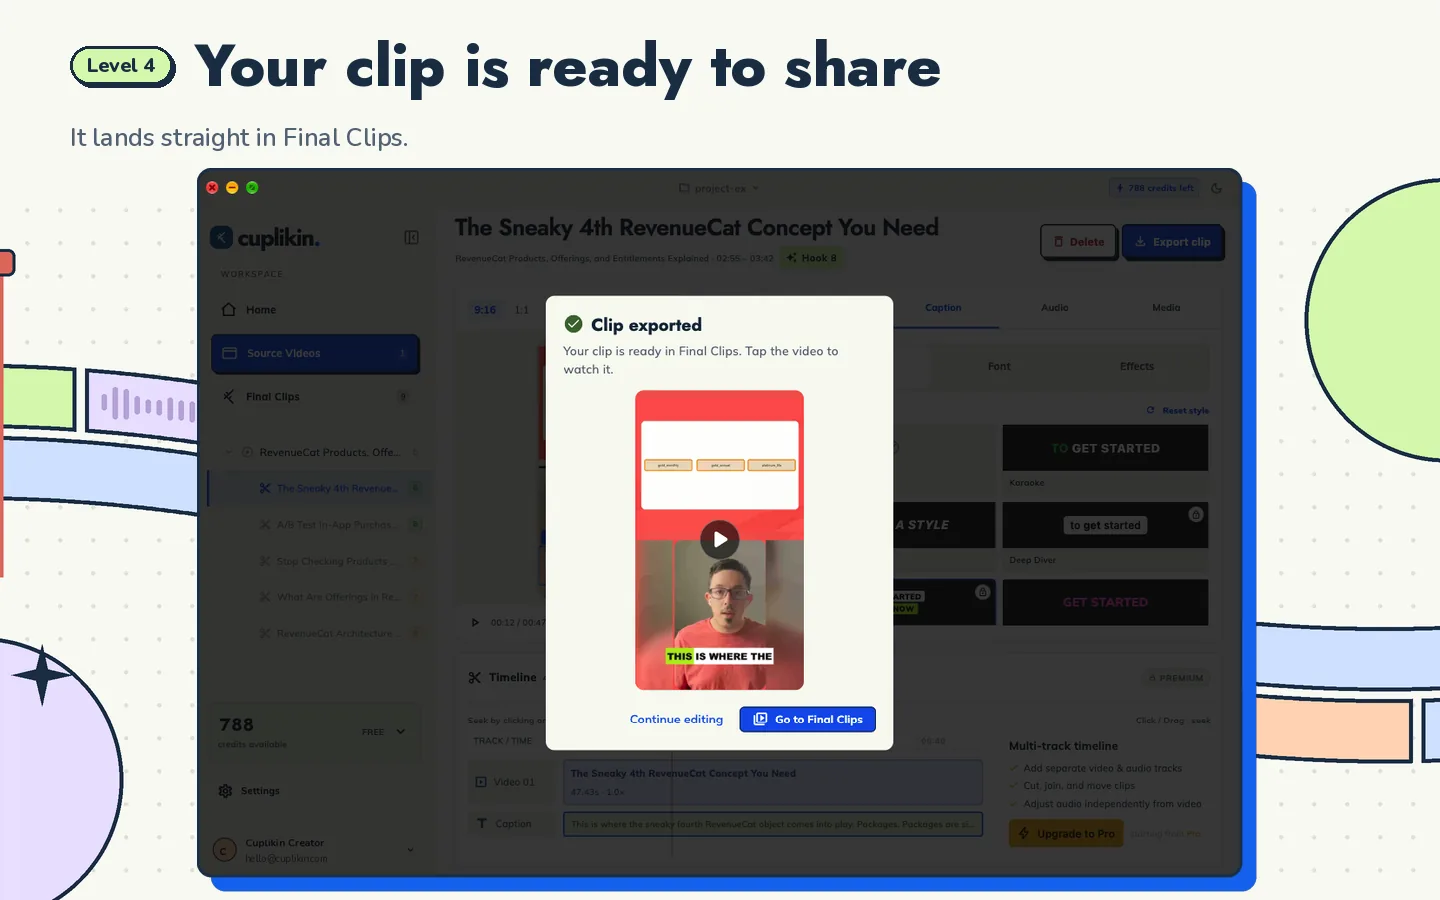
- Export up to 4K with a title and social caption for each clip. On Mac, clips save to a folder you choose. On phones, they go straight to Photos or your gallery. No watermark.
For teams, privacy matters. Projects and media stay on your device and never expire. Cloud features send only the minimum data needed, and your video file is not uploaded for hook analysis. Credits are only used when an analysis works, and cancelled or failed runs give credits back.
For the full end-to-end process, read the pillar guide: how to turn long videos into short clips.
FAQ
How many short clips can I get from one webinar?
It depends on the content, not the length. Count the moments that make sense on their own, have a clear payoff and open strongly. A focused, practical session usually has more of these than a loose conversation.
How do I show slides and the speaker in a vertical clip?
Use a two-panel layout: put the slide in the top panel and crop the bottom panel to the speaker's face. Viewers see the visual and the person in one 9:16 frame.
Is it safe to use AI tools on internal or client webinars?
Check what each tool uploads. In Cuplikin, projects and media stay on your device, transcription can run on-device, and your video file is not uploaded for hook analysis. Always confirm you have permission to publish clips of every speaker.
Try it with Cuplikin
Turn your next webinar or interview into a set of captioned, vertical clips while your projects and media stay on your device. Cuplikin is free to download for Mac, iPhone, iPad and Android. Get Cuplikin.