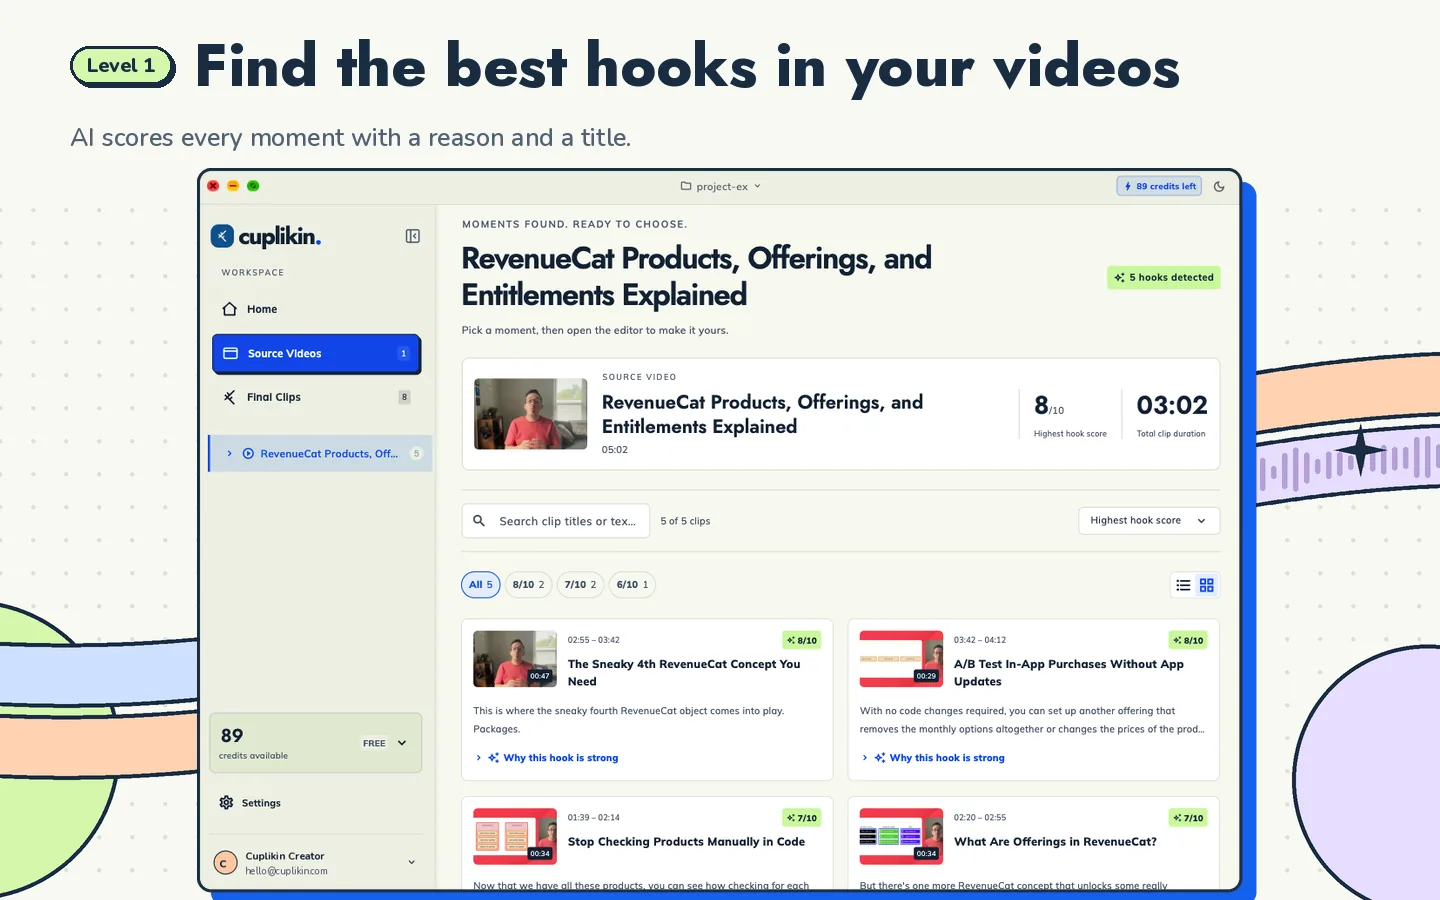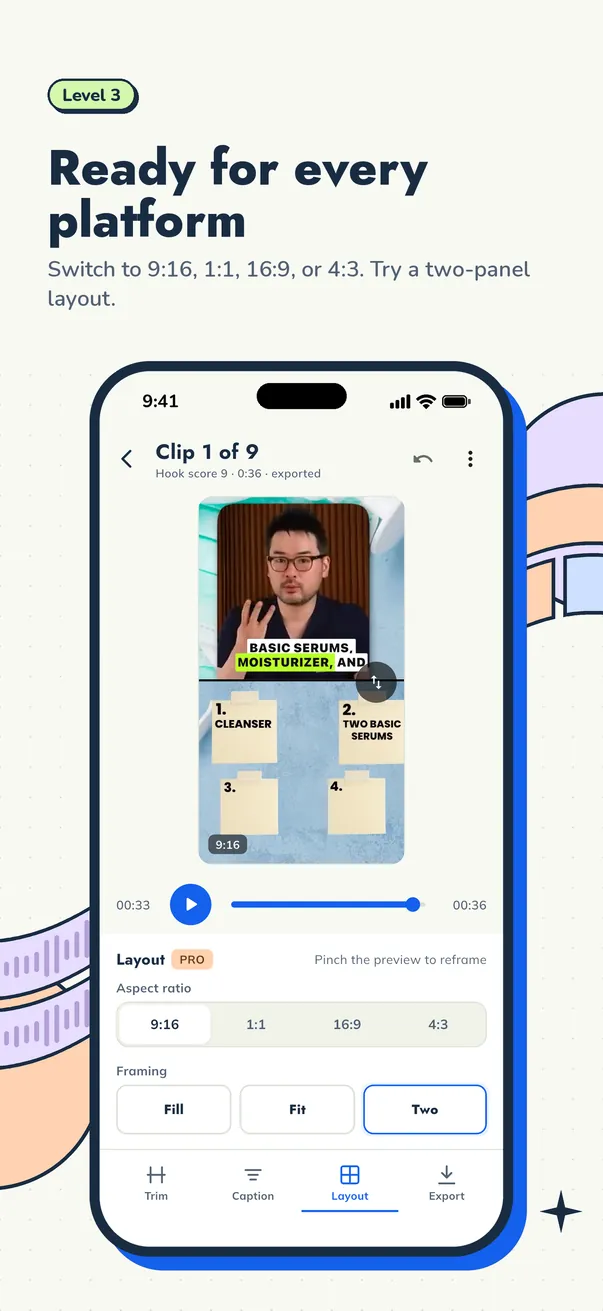
For TikTok, Instagram Reels and YouTube Shorts, a reliable set of export settings is a 9:16 vertical frame at 1080×1920, the same frame rate as your source video (often 30 or 60 fps), a widely supported codec and a bitrate high enough that faces and captions stay crisp. If your source is sharp enough, exporting higher, up to 4K, gives the platform more detail to work with.
Each platform re-compresses what you upload, so the aim isn't a perfect file. You want a clean file that holds up after the app compresses it again. Here's what each setting does and how to pick it.
Resolution: 1080×1920 is the safe default
Resolution is the number of pixels in the frame. For vertical short video, 1080×1920 is the widely used standard. It's sharp on phones and the file size stays reasonable.
- 720×1280 is fine for quick drafts, but text and faces can look soft once the app compresses the video.
- 1080×1920 is the default for almost everything.
- Higher, up to 4K (2160×3840) is worth trying when your source is 4K and you want maximum detail. The files are bigger and uploads take longer.
Don't export at a higher resolution than your source has. Upscaling a 720p recording to 4K won't add detail. You just get a bigger file.
If you're not sure which shape to use in the first place, start with our guide to aspect ratios for TikTok, Reels and Shorts.
Frame rate: match your source
Frame rate is how many images per second the video shows. The simplest rule is to export at the same frame rate you recorded.
- Podcasts, interviews, webinars and talking-head lessons are usually recorded at 24, 25 or 30 fps. Keep that.
- Gameplay, sports and fast screen recordings are often 60 fps. Keep 60 if the motion matters.
- Changing the frame rate (for example 25 to 30) can add small stutters. Avoid it unless you have a reason.
A higher frame rate doesn't make a talking-head clip look better. It mostly makes the file bigger.
Bitrate: enough data for faces and captions
Bitrate is how much data per second the video uses. Too low and you get blocky faces, smeared backgrounds and fuzzy caption edges. Too high and the file is huge with no visible gain once the platform re-compresses it.
Some practical guidance:
- Talking-head clips with a still background need less bitrate than fast motion.
- Busy scenes, like crowds, confetti, gameplay or handheld camera work, need more.
- Bold animated captions with sharp edges look better with a bit of extra bitrate.
- If an uploaded clip looks blocky, re-export with a higher bitrate before you change anything else.
Platforms publish their own upload recommendations and update them from time to time. Check the official help pages for current guidance: YouTube Help, Instagram Help Center and TikTok Support.
Codec: pick the most compatible option
The codec is how the video is compressed inside the file. H.264 is the most widely compatible choice for social uploads and plays almost everywhere. Newer codecs such as HEVC (H.265) can produce smaller files at similar quality, but support varies more across devices and editing tools.
If you're unsure, choose the most compatible option your app offers and keep the file in a common container like MP4.
Quick reference table
| Setting | Recommended starting point | When to change it |
|---|---|---|
| Aspect ratio | 9:16 | Use 1:1 or 16:9 for feeds or YouTube main channel |
| Resolution | 1080×1920 | Go higher only if the source is higher |
| Frame rate | Same as source | Keep 60 fps for fast motion |
| Bitrate | Medium to high | Raise it if faces or captions look blocky |
| Codec | Most compatible option | Try a newer codec if file size matters and it plays where you post |
Mistakes that make clips look worse after upload
- Exporting a tiny file to save time. The app compresses it again, and the quality loss stacks.
- Captions too close to the edges. The app's buttons and text cover them. Keep captions in the middle area or toward the lower third, but not at the very bottom. Our auto captions guide covers placement.
- Letterboxed 16:9 clips. A wide video on a vertical feed looks small. Reframe it before export. See how to convert horizontal video to vertical.
- Re-exporting a downloaded clip. Every round of compression loses detail. Export from the original source whenever you can.
How to export clips in Cuplikin
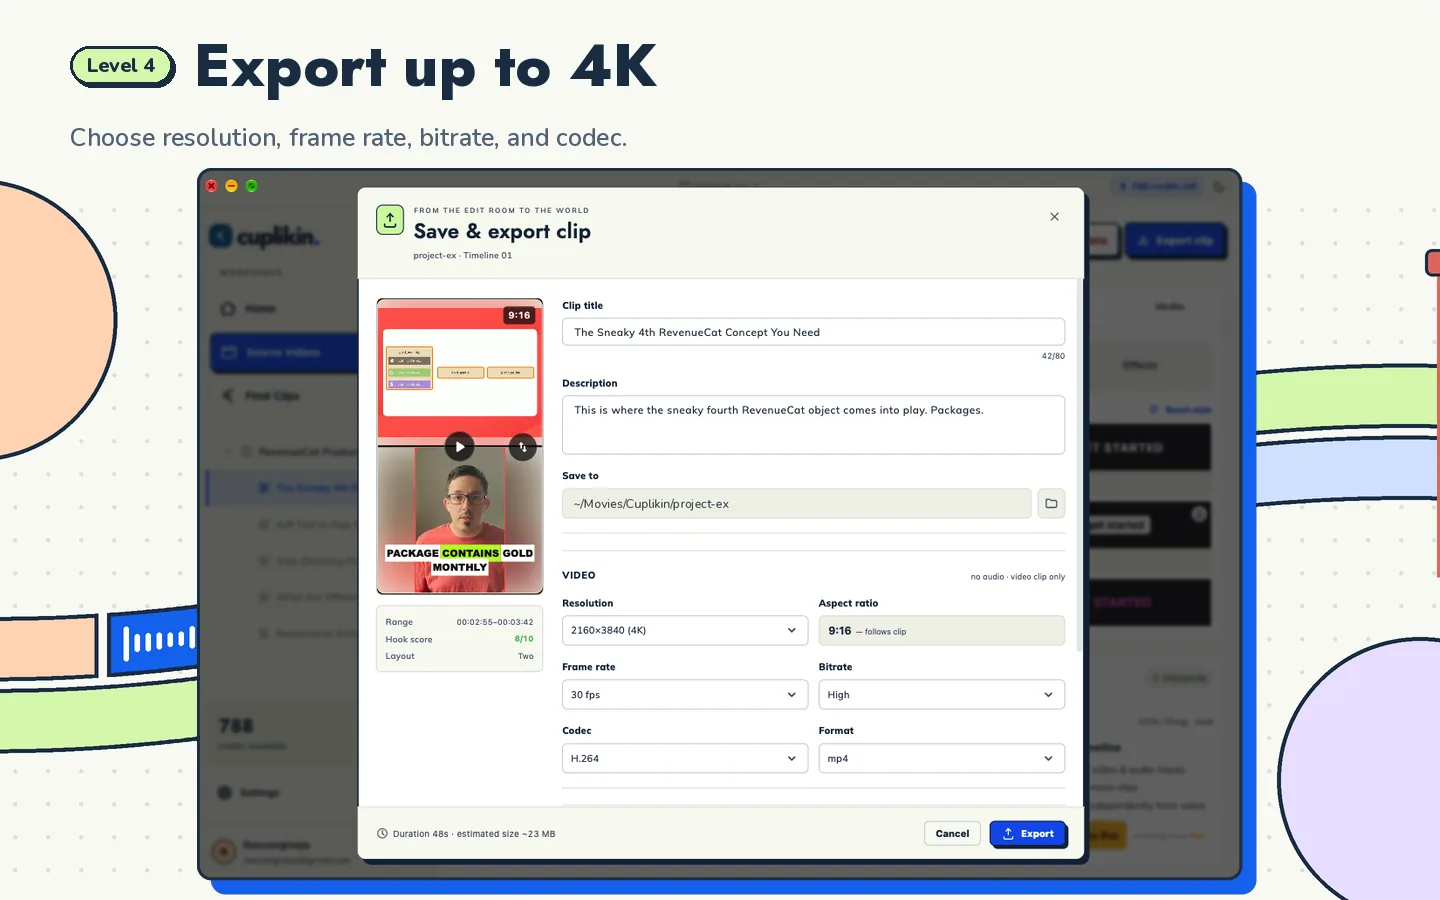
In Cuplikin, export is the last step after you've found your hooks, fixed the transcript, styled captions and set the layout. The export dialog lets you choose:
- Resolution, up to 4K
- Frame rate
- Bitrate
- Codec
You can also add a title and a social caption for each clip, so the text you'll post sits next to the video. There's an optional "Made with Cuplikin" end card, which you can leave off. Clips never get a watermark either way.
Where the file goes depends on your device. On Mac, clips are saved to a folder you choose. On iPhone, iPad and Android, they go straight to Photos or your gallery, ready to upload.
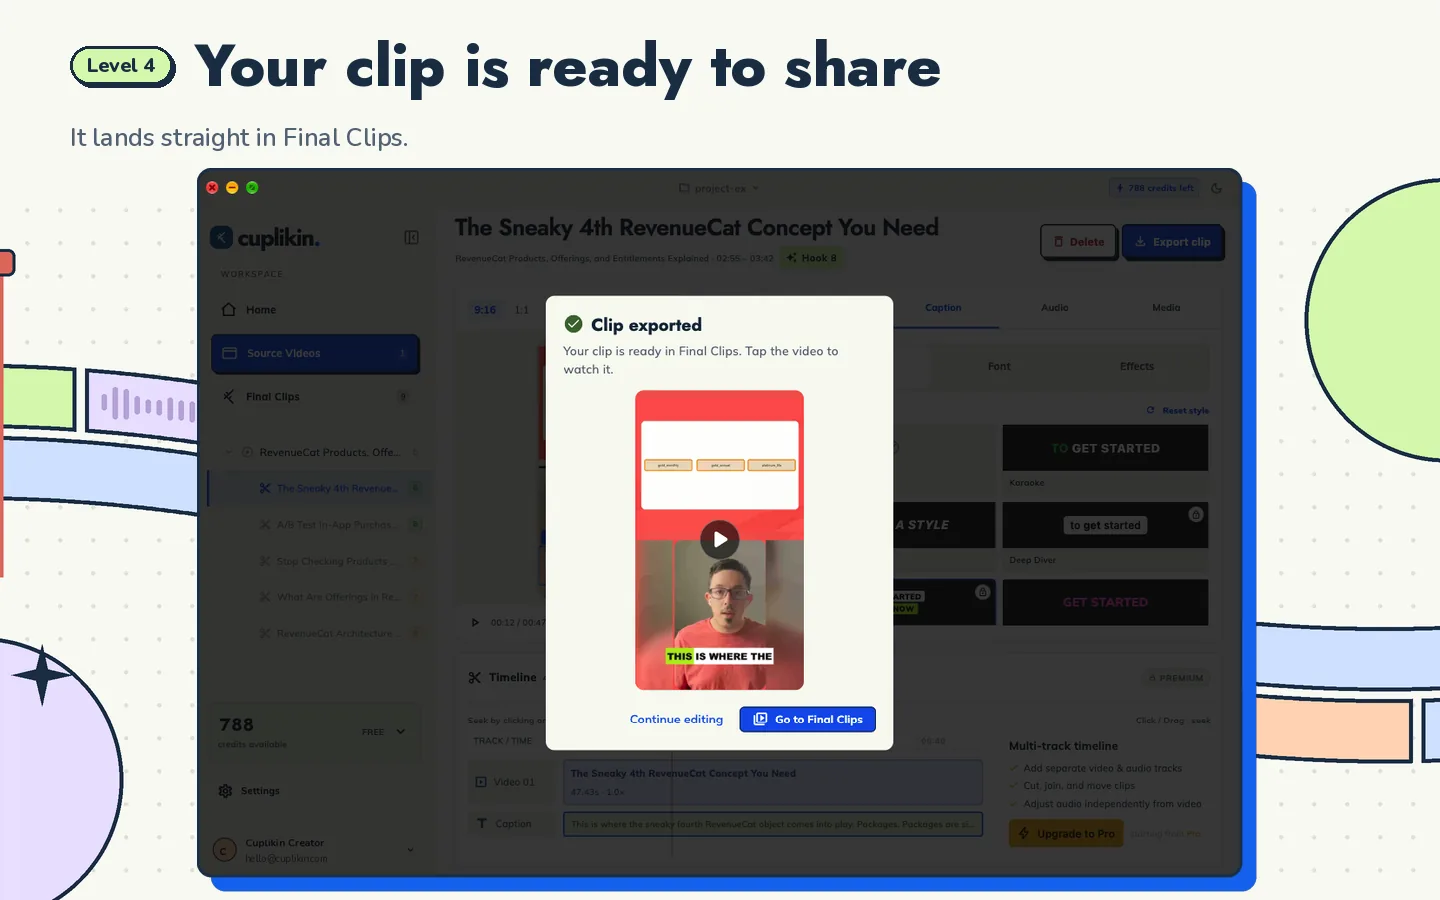
Everything stays on your device. Projects and media never expire, so you can come back and export a clip again with different settings later.
A simple export checklist
- Aspect ratio is 9:16 for TikTok, Reels and Shorts.
- Resolution is 1080×1920, or higher if the source supports it.
- Frame rate matches the source.
- Bitrate is high enough that faces and captions look clean on a phone.
- Captions and faces sit away from the top and bottom edges.
- Watch the exported file once on a phone before posting.
Export settings are the final step of a longer process. For the complete workflow, read how to turn long videos into short clips.
FAQ
What resolution should I export for TikTok and Reels?
1080×1920 in a 9:16 vertical frame is the widely used standard. Export higher only if your source footage is higher resolution, since upscaling doesn't add detail.
Should I export short clips at 30 or 60 fps?
Match the frame rate of your source. Talking-head content recorded at 30 fps should stay at 30 fps. Keep 60 fps for fast motion like gameplay or sports.
Why do my clips look blurry after uploading?
The platform re-compresses every upload. Start from a higher-quality export with enough bitrate, avoid upscaling low-resolution sources, and don't re-export clips that were already compressed. Check each platform's help pages for its current upload recommendations.
Try it with Cuplikin
Cuplikin turns long videos into short clips and exports them up to 4K, with full control over resolution, frame rate, bitrate and codec, and no watermark. Free to download for Mac, iPhone, iPad and Android. Get Cuplikin.