To turn one two-hour podcast episode into 10 clips, work in a single batch session: transcribe the episode, mark 15 to 20 candidate moments, keep 10 that cover different types (opinions, stories, tips, funny moments), then edit and export them all at once. After that, spread the 10 clips across a 7-day posting schedule on TikTok, Reels and Shorts, with your strongest clip first and a clear push to the full episode at the end of the week.
This article focuses on planning the batch and the schedule. If you need the cutting technique itself (framing two speakers, captions, export), start with how to turn a podcast into Shorts, Reels and TikToks.
Why batch instead of clipping one at a time
Cutting one clip a day sounds light, but every time you have to reopen the file, remember what the episode was about and hunt for a moment again. That is where most of the time goes, not the editing.
In a batch, you listen to and understand the episode once. Every decision is made with the same context, so it is also easier to keep the clips varied. The result is a week of content that only needs to be posted.
A realistic split for a 1–2 hour episode:
| Stage | What you do |
|---|---|
| Transcribe and check | Fix guest names, jargon and slang |
| Select | Mark 15–20 candidates, keep 10 |
| Edit | Trim, reframe and caption all 10 clips |
| Package | Titles, social captions and posting order |
Do not mix stages. While selecting, do not start editing. While editing, do not go looking for new moments.
Step 1: Transcribe and mark candidates
Start from the original video file of the episode if you have it. Create a timestamped transcript, then skim it and mark every moment that makes you stop: a bold statement, a story with an ending, a practical answer or a spontaneous laugh.
Aim for 15 to 20 candidates. Marking more than you need is deliberate, because some will drop out on a second look: too dependent on context, poor audio, or simply dull when it stands alone.
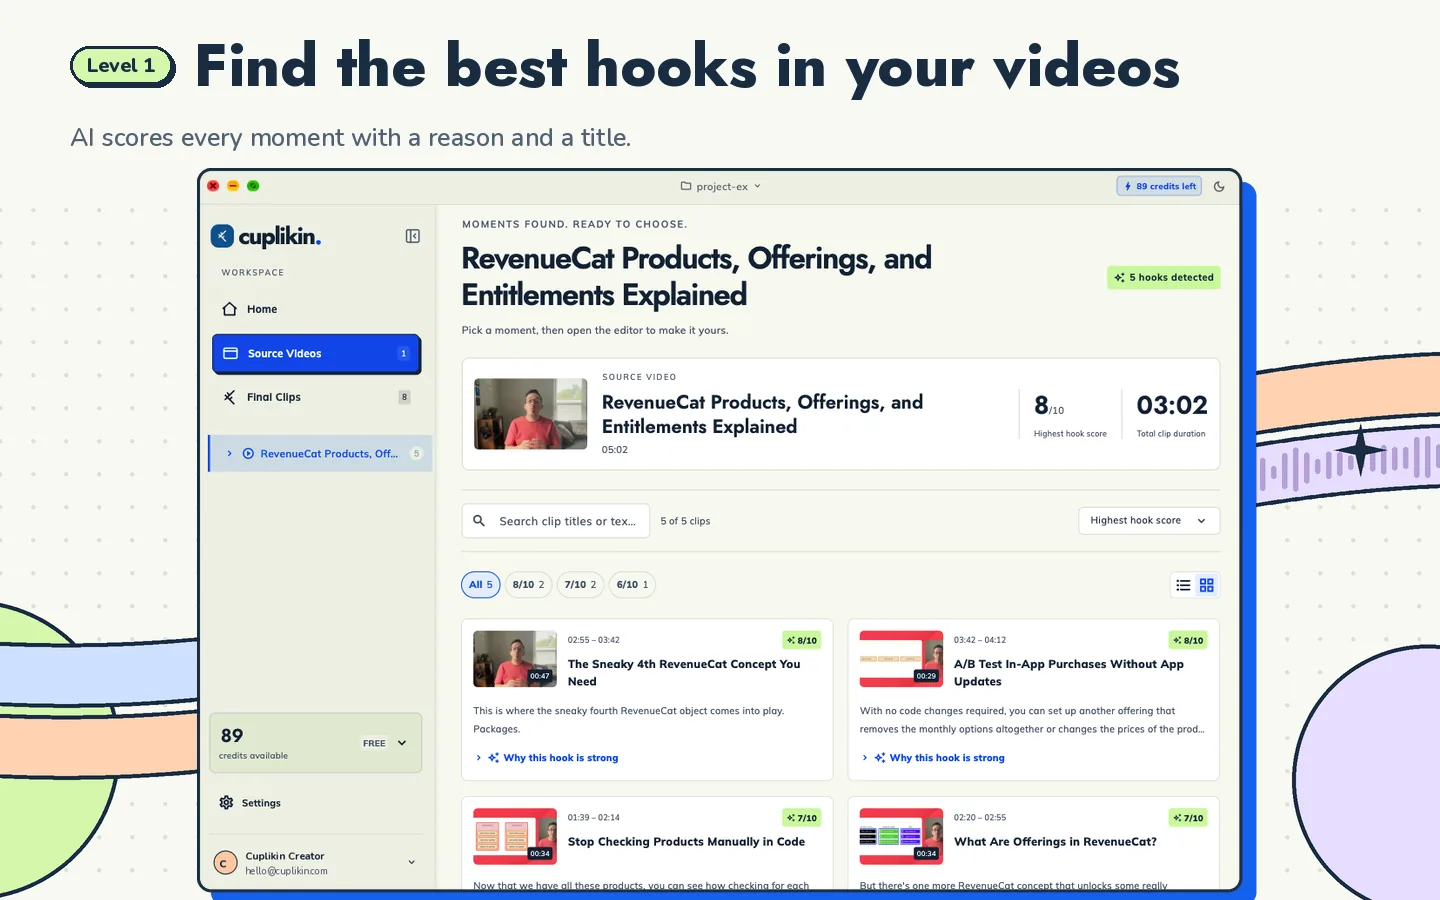
In Cuplikin, AI hook detection can do this first pass. You get a list of segments with a score from 1 to 10, a reason the segment is interesting and a title idea. Use that list as raw material, then add moments you think matter even if they are not the top scores. Scores help you judge, but they do not guarantee views.
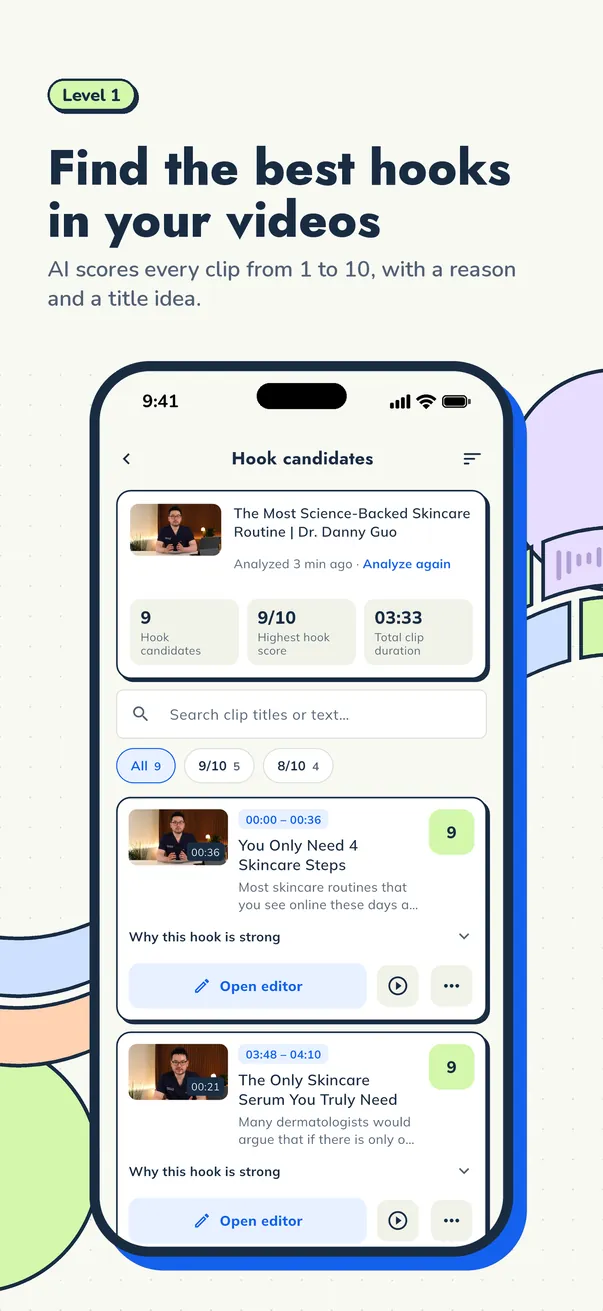
If you want to train your instinct for picking moments, read how to find the best hooks in a long video.
Step 2: Pick 10 moments with variety
A common batching mistake is picking 10 moments that are all hot takes. By day three, the audience is tired of them. Use a mix like this as a starting point:
- 3 opinions. Clear, confident statements, ideally ones that make people want to comment whether they agree or not.
- 3 stories. Personal experiences from the guest with a beginning, a turning point and a lesson.
- 2 tips. Practical answers viewers can use right away.
- 2 funny or spontaneous moments. Host and guest chemistry, an unexpected reaction or a joke that needs no context.
Besides the type, check where the clips come from in the episode. If 7 of your 10 clips come from the first 20 minutes, you may be skipping good material later on. Two-hour episodes often have their best moments in the middle, once the guest has relaxed.
One last rule: every clip must make sense to someone who has never heard your podcast. If it needs "like we said earlier", drop it or find a different opening line.
Step 3: Edit every clip in one pass
Edit all 10 clips with the same settings so they are consistent and quick to finish:
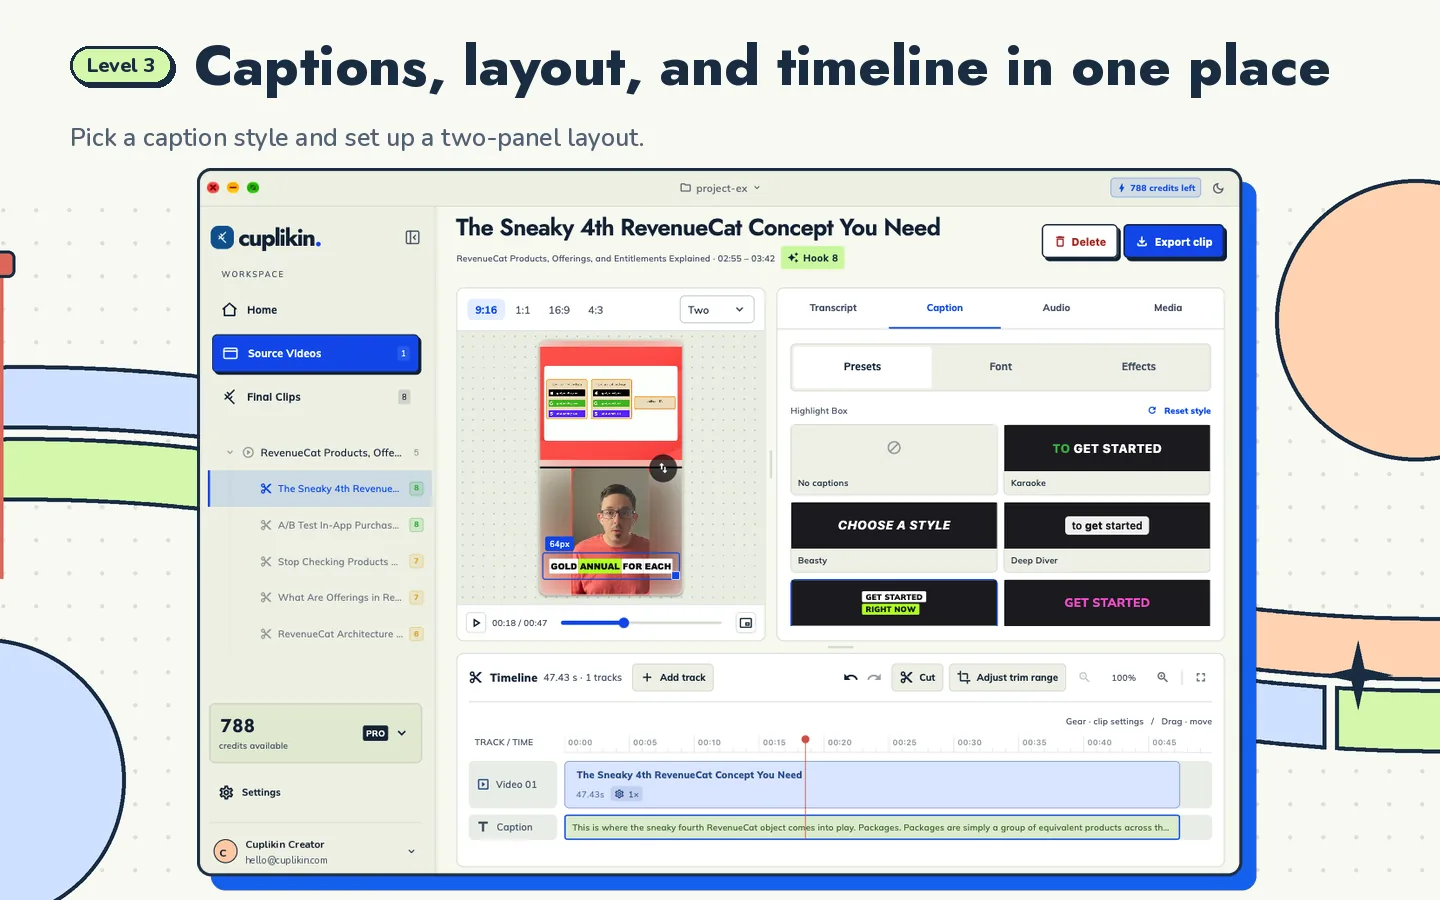
- Choose one caption style and one caption position for the whole batch.
- Choose a default layout: a single-speaker crop for stories and opinions, a two-panel layout for back-and-forth conversation.
- Start each clip on its most compelling sentence and end it right after the payoff.
- Check captions word by word, especially names and technical terms.
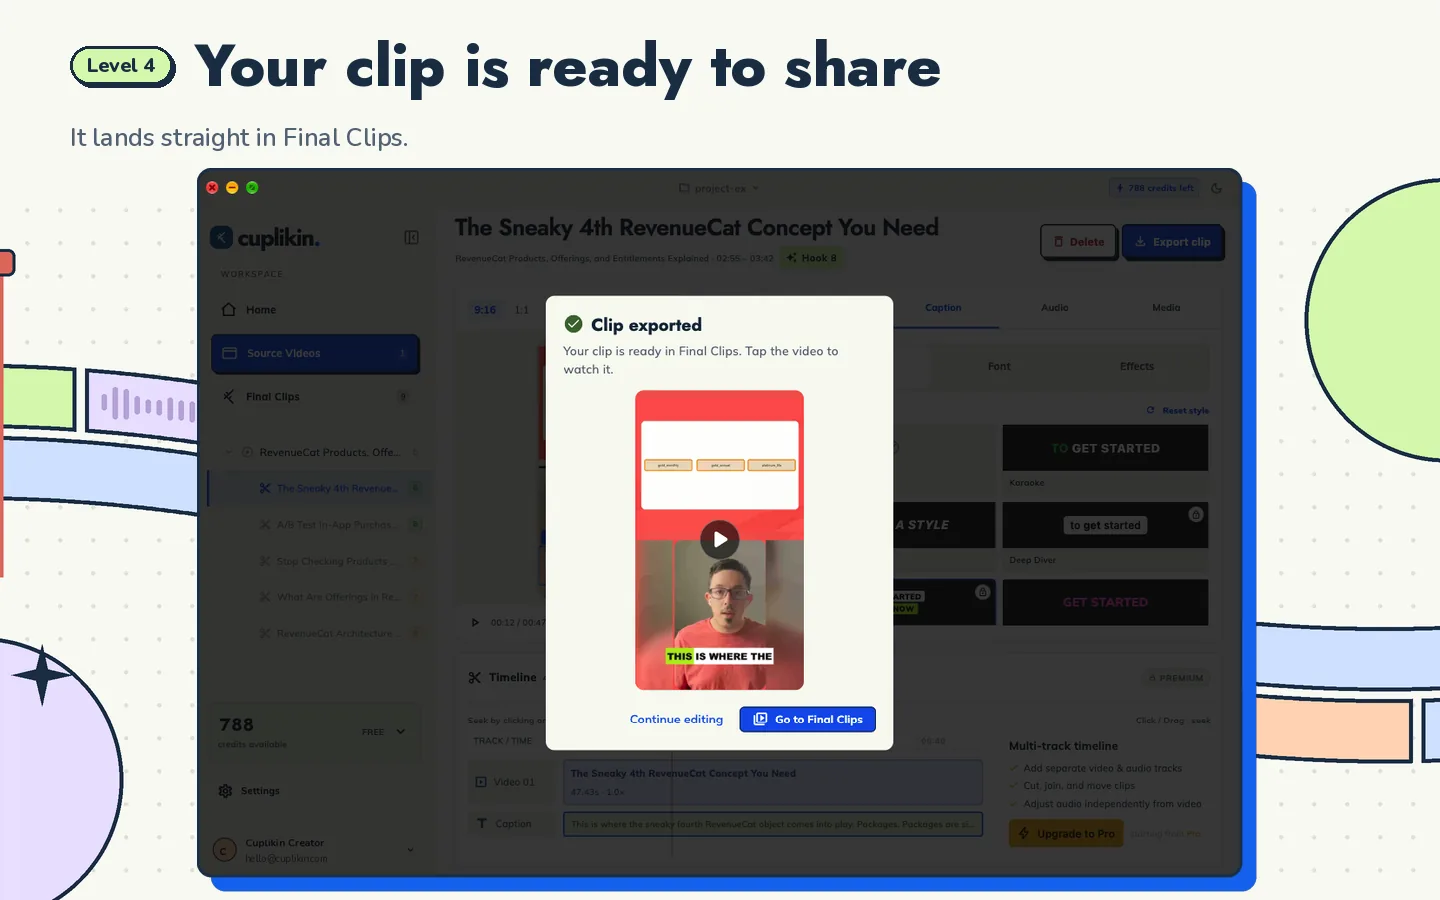
- Export everything with the same settings.
In Cuplikin, you trim on the timeline, edit the transcript word by word to fix captions, pick a caption preset such as Karaoke or Highlight Box, then reframe to 9:16 with a face crop or a two-panel layout. The technical details of each step are in the complete guide to turning long videos into short clips.
Name your files in a way that helps the schedule, for example D1-opinion-guest-first-salary.mp4 or D5-story-first-failure.mp4. When it is time to post, you will know what each one is without rewatching it.
Step 4: Plan a 7-day posting schedule
With 10 clips and 7 days, you can post one clip a day and two clips on three of those days. Put your strongest clip on day one so the episode gets an early push, and keep one strong clip for the end of the week so the momentum does not run out.
| Day | Clips | Type | Notes for TikTok, Reels, Shorts |
|---|---|---|---|
| Monday | 1 and 2 | Strongest opinion, tip | Opinion in the morning, tip in the afternoon |
| Tuesday | 3 | Story | Post the same clip on all three platforms |
| Wednesday | 4 and 5 | Funny moment, opinion | Funny moments suit relaxed hours |
| Thursday | 6 | Story | Name the guest in the caption |
| Friday | 7 and 8 | Tip, opinion | Practical tips often get saved and shared |
| Saturday | 9 | Funny moment | Light content for the weekend |
| Sunday | 10 | Best story | Strong call to watch the full episode |
The best posting time is different for every account, so use your own analytics. If you do not have data yet, post at the same time every day for two weeks, then compare.
Most creators post the same vertical file on TikTok, Reels and Shorts, then adjust the caption and hashtags for each platform. Check each platform's current rules and length limits before uploading.
Step 5: Write a title and caption for each clip
Write titles and captions during the batch, not when you are about to post. The episode is still fresh in your head, so the result is sharper.
A simple formula for each clip:
- On-screen title: the main idea in 3 to 7 words. "Your first paycheck is not for saving" beats "Podcast Ep 42 part 3".
- First line of the caption: repeat or deepen the hook, because this is the line people read before "more".
- Short context: who the guest is and why their take is worth hearing.
- One call to action: a question for the comments or a pointer to the full episode, not both.
- Hashtags: a few that fit the topic of that clip, not the same long list on every clip.
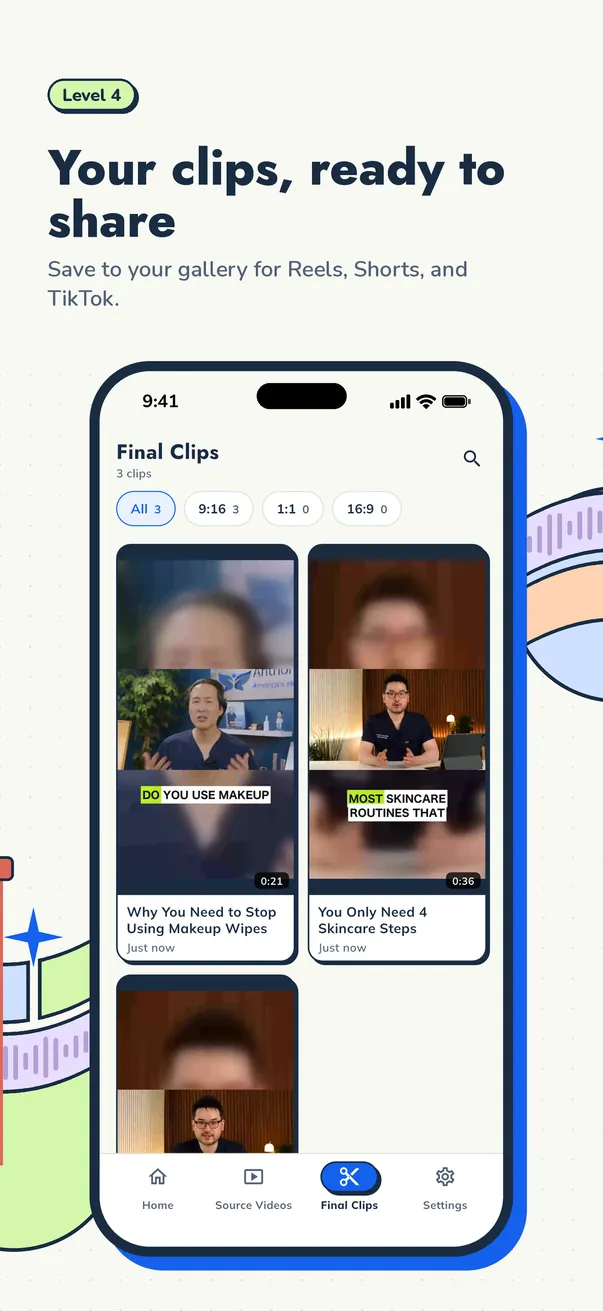
In Cuplikin, the title ideas from hook detection give you a starting point, and you can write a title and social caption for each clip before export. For the captions inside the video, see auto captions for short videos.
How to send viewers to the full episode
The point of podcast clips is not only views on short-form platforms, but new listeners for the episode. A few tactics you can combine:
- Say it plainly in the caption. "The full episode with this guest is at the link in bio" works better than "full on the channel".
- Use each platform's linking features. On YouTube, a Short can point to a long video with the related video feature. On TikTok and Instagram, use the link in your bio or a pinned comment.
- End one or two clips on a cliffhanger. Stop just before the guest gives the full answer, then point to the episode. Do not do it on every clip, or viewers will feel baited.
- Make the last clip of the week a trailer. Clip 10 can end with a text card such as "Full episode: episode title" so it is easy to search for.
- Be consistent with the show name. Put the podcast name in every caption so someone who has seen three clips knows what to search for.
If you are a clipper working on someone else's podcast, agree with the show owner on which link to use and how to name the show. For more on podcast clipping work, see how to become a video clipper.
FAQ
Can a short podcast episode also become 10 clips?
It can, but do not force it. A 30-minute episode usually has enough for 3 to 6 clips that truly stand on their own. Ten clips is more realistic from a 1–2 hour episode with plenty of stories and long answers.
Is it fine to post two clips from the same episode on the same day?
Yes, as long as the clips are different types and a few hours apart, for example an opinion in the morning and a tip in the afternoon. Avoid two clips on the same topic on the same day, because they can compete with each other.
What if a clip performs badly on its first day?
Do not delete it right away. Note what type of moment it was, then compare at the end of the week. After two or three episodes you will see a pattern: which types of clips get watched to the end, saved or commented on most. Use that pattern to adjust the mix for your next 10 clips.
Try it with Cuplikin
Cuplikin helps you turn one episode into a week of clips: a timestamped transcript, a hook list with scores, reasons and title ideas, trimming on the timeline, caption presets, two-panel layouts, then export with a title and social caption for each clip, with no watermark. Projects and media stay on your device, and your video file is not uploaded for hook analysis. It is free to download for Mac, iPhone, iPad and Android. Download Cuplikin.